Need a bit of help... Impedance switch

Synergy/MTS Forum

Help Support Synergy/MTS Forum:

This site may earn a commission from merchant affiliate links, including eBay, Amazon, and others.

Shinozoku

Well-known member
Joined
Nov 17, 2008
Messages
1,340
Reaction score
0
Location
Bristol, VA
See, when one isn't careful, one makes silly mistakes that end up costing.

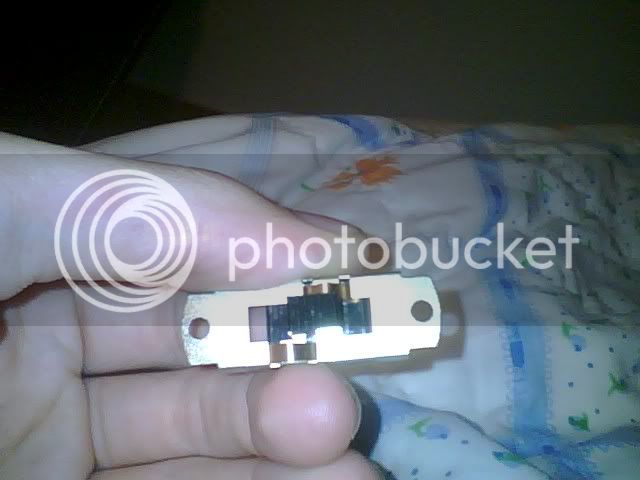
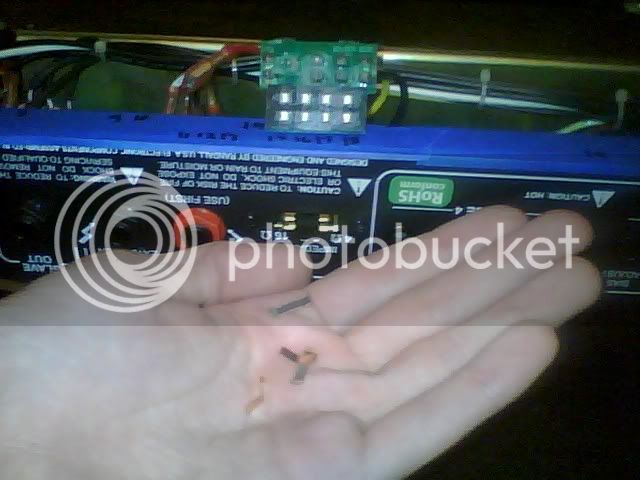
This mistake was not being careful when unplugging QC11A on my power board and jerking the entire impedance switch board off of the switch o_o

What part do I need to replace it? Can it be found at radio shack? Because it's in pieces right now... Crappy cell pic coming up.
080201_145600.jpg
 
Yeah, but see I have no reference at the moment to fix it.

Anybody got pics of this board/component for me to go by?

Can I piece it back together?

I guess I'll be trying to borrow a DSL100 for band practice =/
 
You can piece it together IF the parts are not cracked or broken and the
small metal "tails" that are crimped to hold the contact board in place
have enough metal to "rebend" to hold the contact board in place.
If you have all the pieces I'll tell you how to do it.
 
Meanwhile follow this link to pics I took of working on my RM50.
There's a good picture of the back of the impedance switch in there.
http://mtsforum.grailtone.com/viewtopic.php?t=12785&highlight=lots+pictures+rm50+repair
 
Thanks, kc2eeb! I'll have pics up soon. Trying to remove the little cradle thing the switch was in so I have ALL the pieces. **** tiny dark spaces with tiny nuts and washers :evil:
 
Yes.
As the parts are laid out in the picture, the two thinner metal strips, bent in a shallow "V" go on top of the plastic slider, one on each side of the serrated
part with the top of the "V" pointing up. Look at the metal housing. The top of the "V" springs click into the rectangular cut outs on either side of the slot for the switch handle.
The wider curved metal pieces are the contacts. they go under the black plastic slide with the round curve towards the contacts. You can probably
put the whole thing together and hold it in position with your hands to see how it all fits together.
It looks like they took the switch and soldered it to the green pc board.
The metal tabs that are bent to hold the switch together are going to be
hard to get to since the bottom of the switch is soldered to the board.
You can either unsolder it from the board and see if you can bend the tangs
to hold the switch together and re-solder it or, try to epoxy it with a good
5 min. epoxy like JB Quick Weld. If you try the epoxy it's very important to degrease/clean everything and obviously be careful where the epoxy goes.
The switch is a DP3T (Double pole,triple throw) slide switch.
You might get lucky with Radio Shack.
You could also call (forget email) Randall.
 
Hmmm... Any chance I could get an MS Paint walkthrough or something for this? I'm nervous xD

I'll just post pic after pic and ask if I'm doing it right :p

080801_133300.jpg


Correct? Or no?
 
Just realized that is NOT correct, and figured it out. Now, my soldering iron is at Steve's house again so I have to wait to get it back to finish fixing it :lol:
 
Yeah, I've got all that now. All I gotta do is get my iron to remove the base from the PCB, get it reattached with some pliers and love (read: minor acts of violence :p) and solder it back in.
 
Bit of a general question here, but I figure it's as good a place as any:

Could I use DeOxit to clean the contacts for the switch and the PC board?
 
Deoxit is fine to use for the contacts, switches, and the tube sockets.
Use it sparingly, don't spray it all over the board.
Deoxit contains oxalic acid which removes oxidation and promotes electrical conductivity. You do not want to soak the board with it.
To clean the pc board use alcohol like you can get at Home Depot.
It will remove the brown residue (flux) you may see on the boards
and will not hurt anything. You can use it liberally.
 
Here's an old trick to remove solder quickly. You have to be working over
a table you don't mind getting solder on. Works only with parts that can take a gentle tap.
Heat the solder joint until it is liquid and drop or tap the switch on the table
while the solder is still molten. A lot of the solder will splash out.
Then clean up with the de-soldering braid.
 
Was using a solder sucker, but it kinda jacked up and it wasn't working well.

Got it done though :) Took lots of violence, knives, multi-tool, and pliers with the desoldering braid and lots of swearing.

Hopefully it's still operable :lol: I know that some of the solder pad came off under the switch... It seems like it ought not make a difference based on the construction of the switch, but I dunno... We'll see. Putting it back in the head tomorrow and taking the power board out to continue my Brain Surgery! Thanks for the help, guys!
 

Latest posts

Top